How to import new CVs?
Adding candidates to your database starts with importing their CVs. Learn how this works in Adeptiq.

Mathias Beke
Tech Lead

Adding candidates to your database starts with importing their CVs. Adeptiq's AI-powered import automatically extracts all relevant information from the CV, so you don't have to enter data manually.
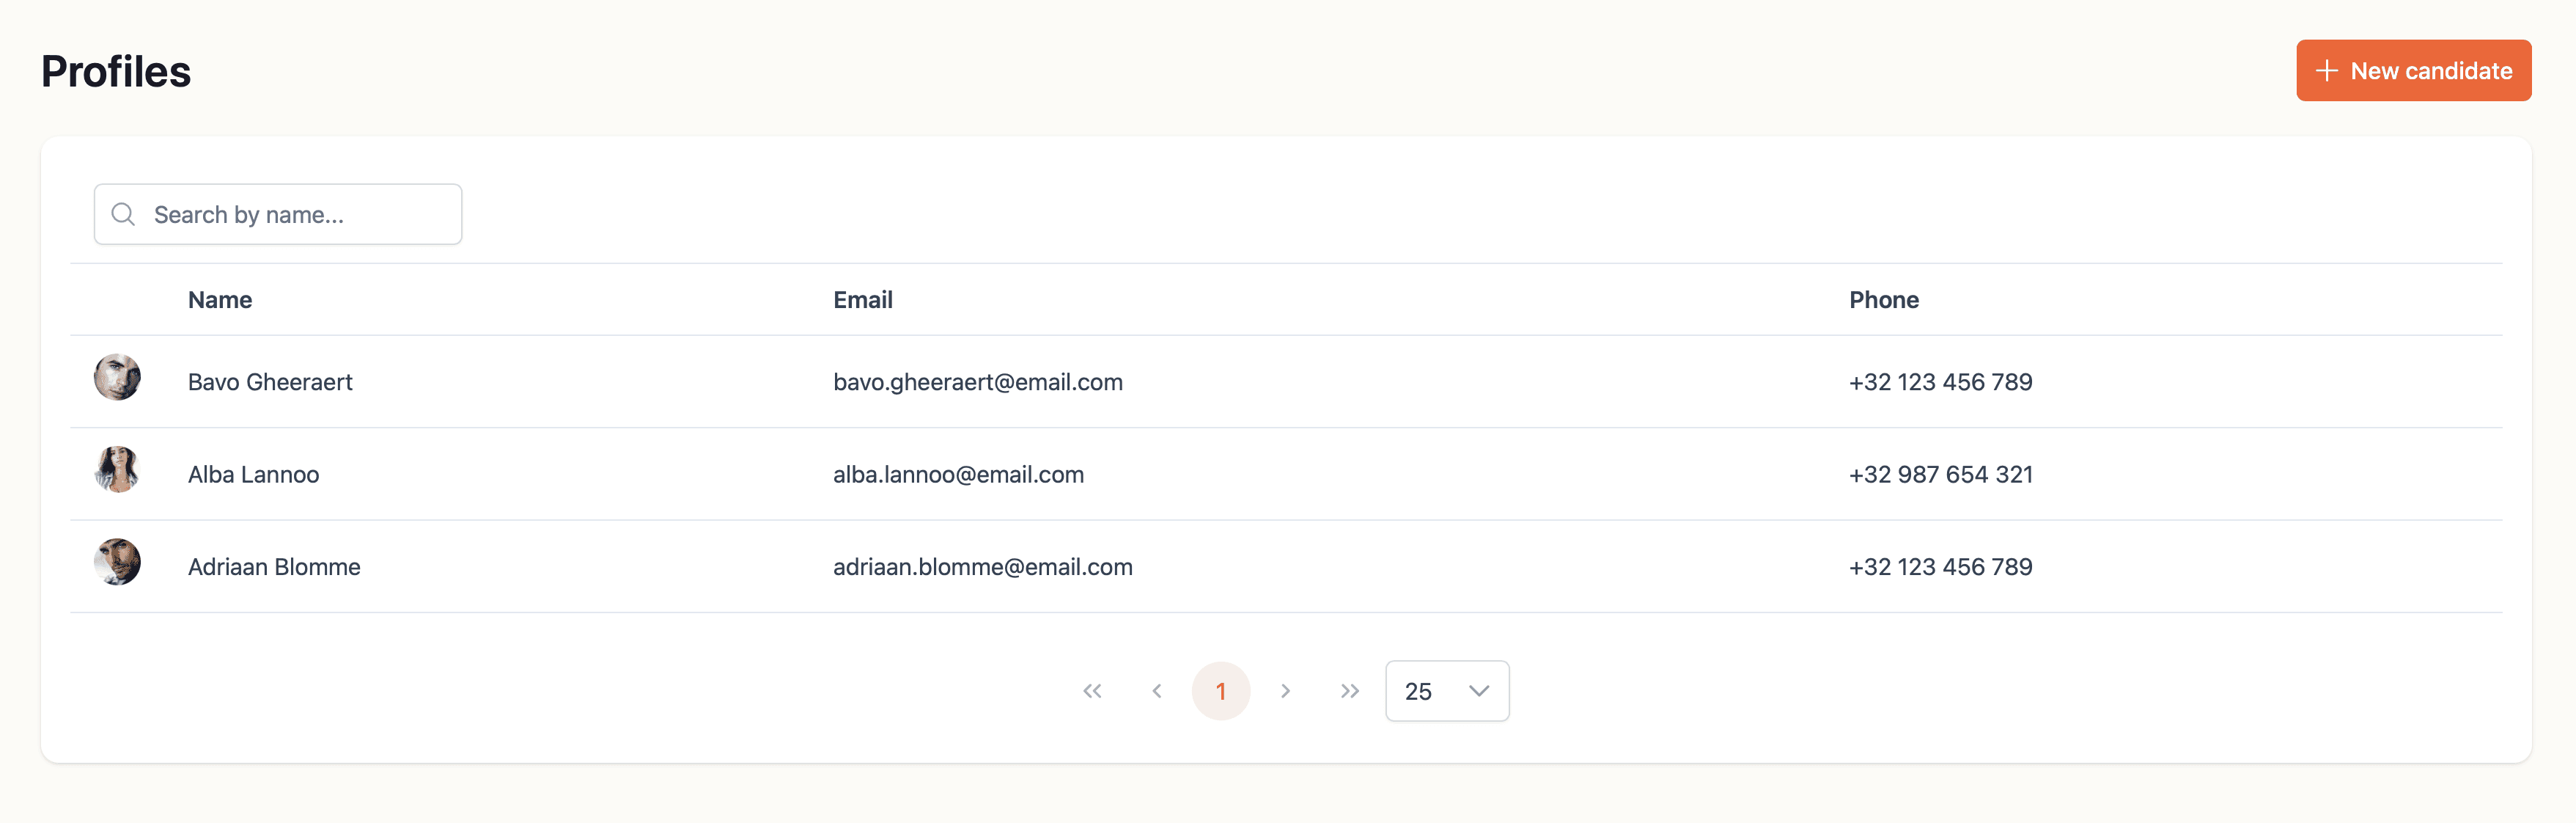
Step 1: Go to the Database page
Navigate to the Database page in Adeptiq. This is where all your candidates are stored.

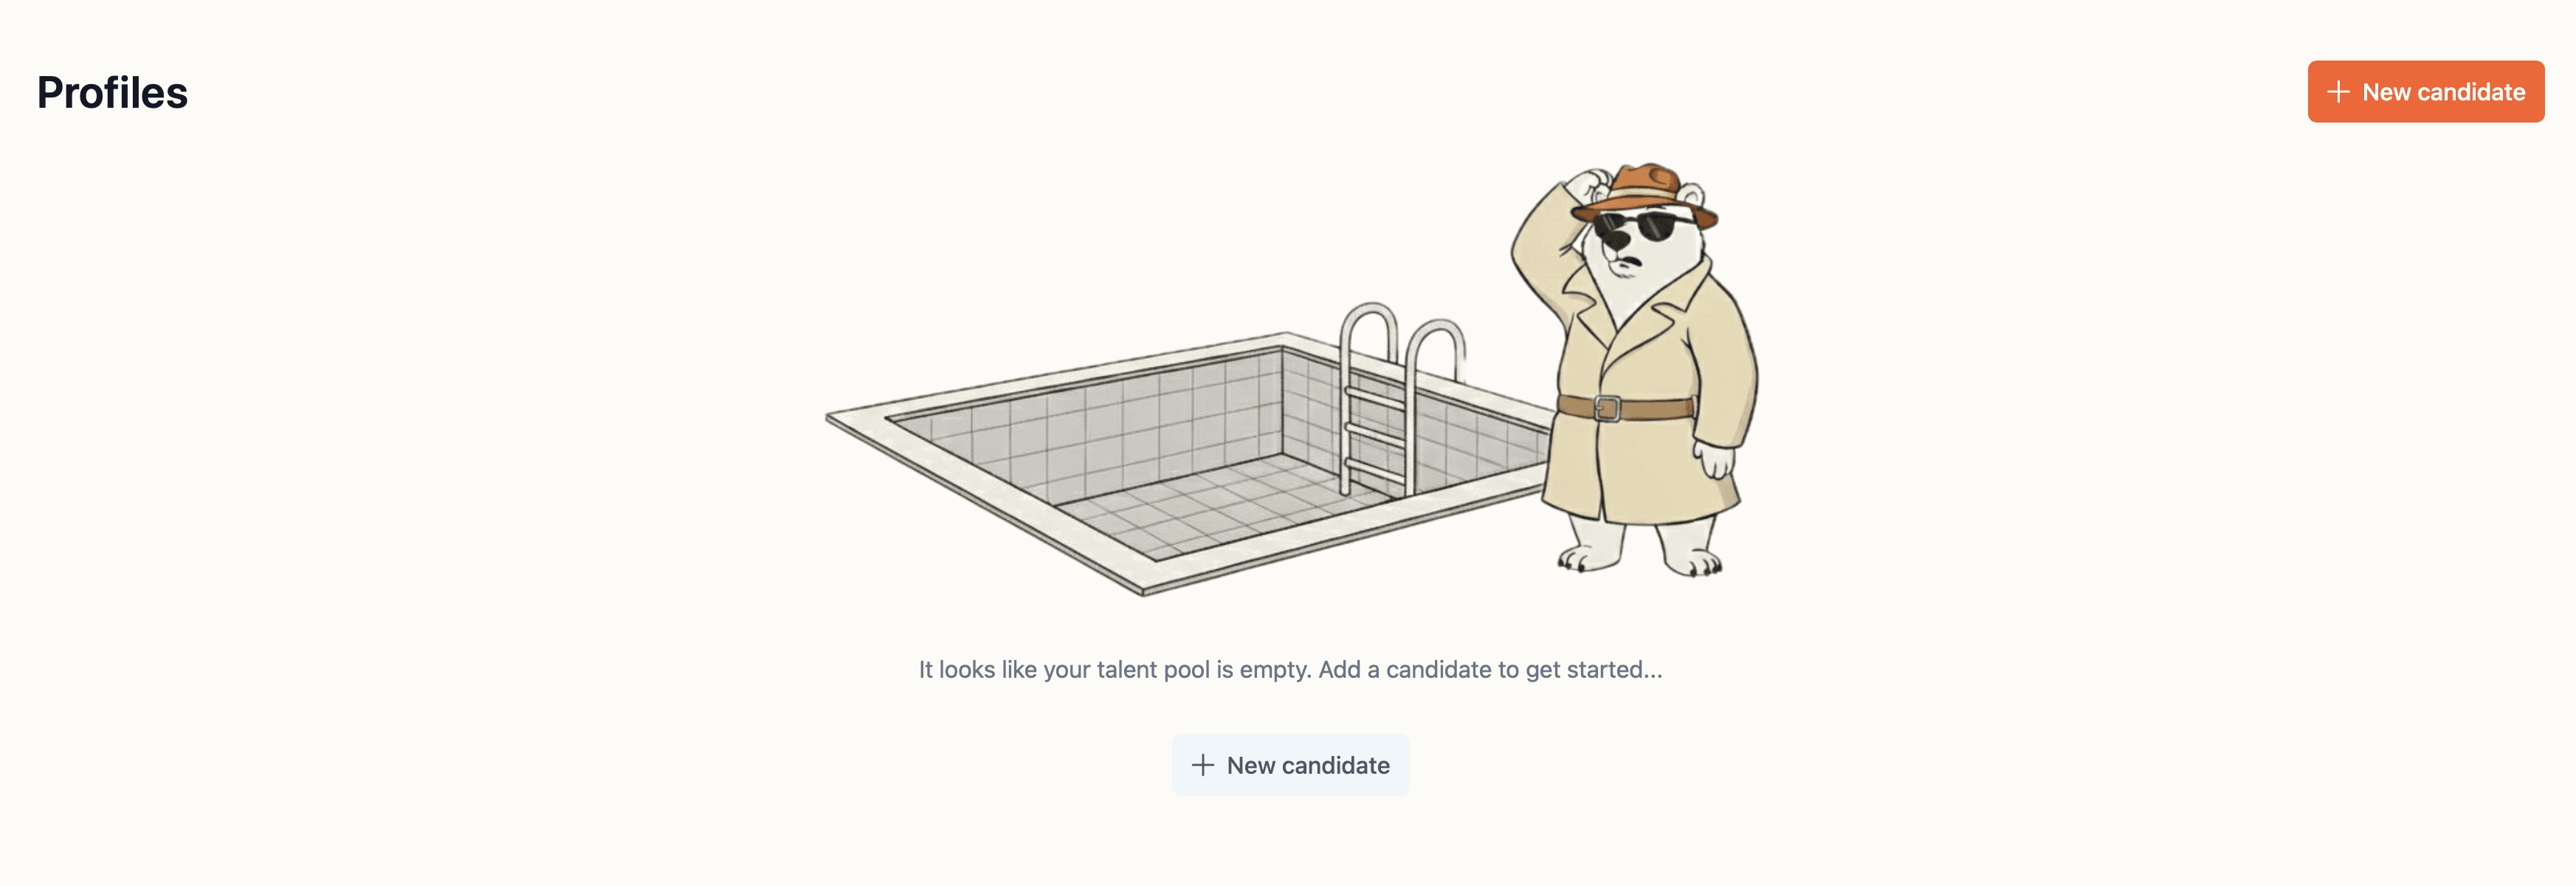
Step 2: Click "New candidate"
In the top right corner, click the orange New candidate button.
If there are no candidates in your databases, a New candidate button will also appear in the middle of the screen.
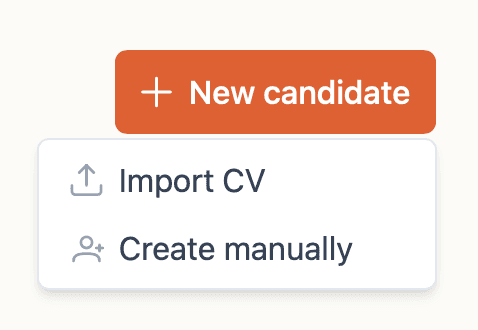
Step 3: Select "Import CV"
A dropdown menu appears with two options:
Import CV – Use this when you have one or more CV files to upload.
Create manually – Use this when you don't have a CV file and want to enter candidate information by hand.
Select Import CV.
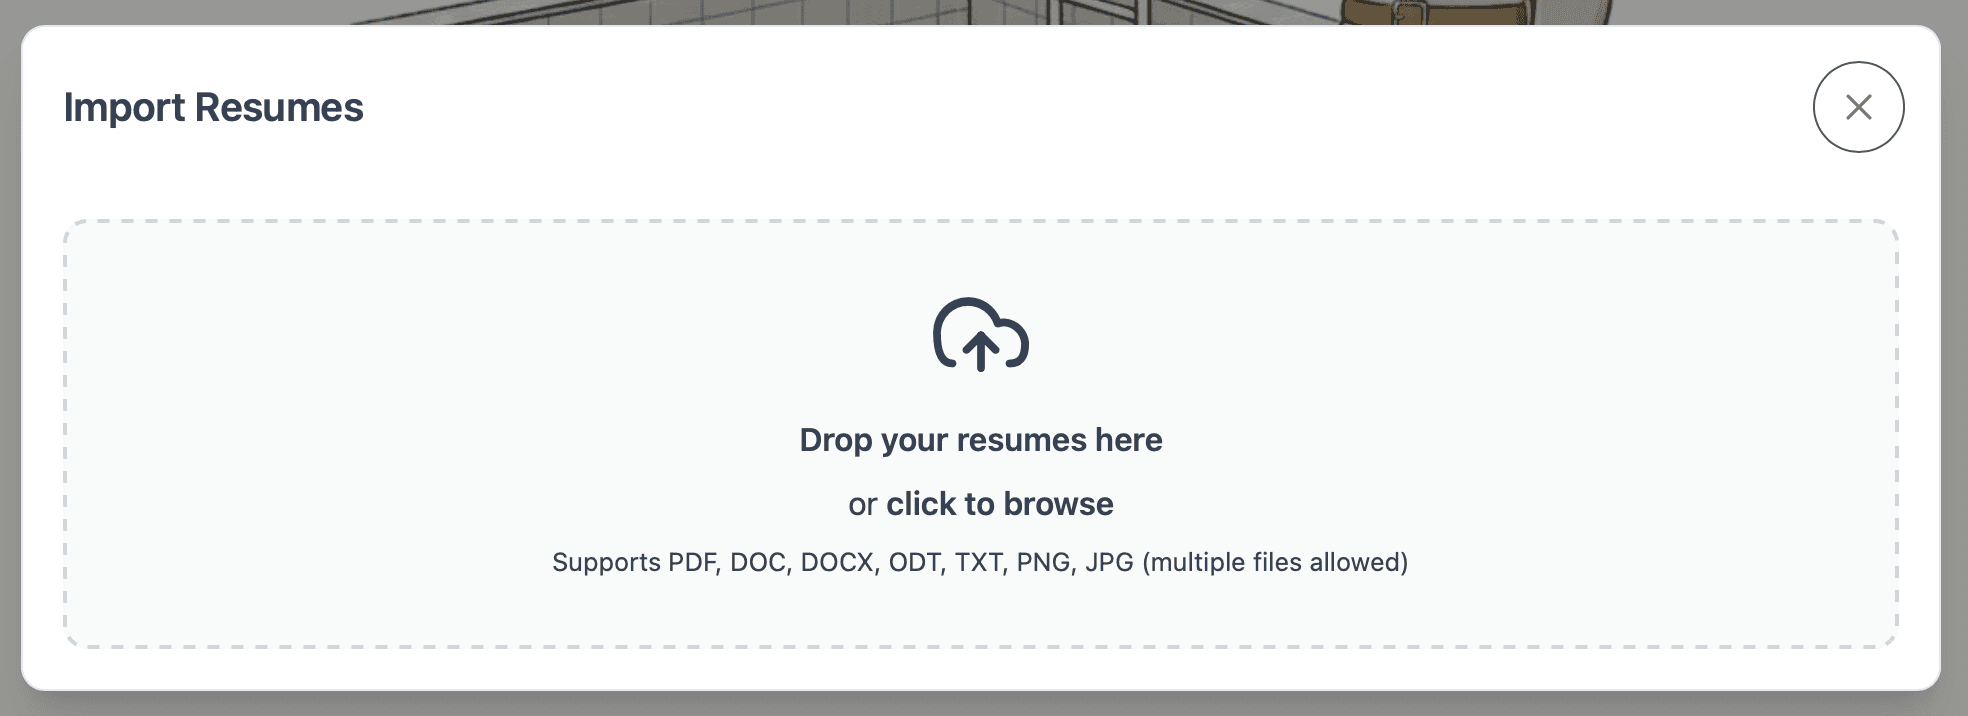
Step 4: Add your CV files
A popup window appears with a dropzone. You can add files in two ways:
Drag one or more CV files from your computer directly onto the dropzone.
Click on the dropzone to open your file browser, then select the files you want to upload.
Supported file types: PDF, DOC, DOCX, ODT, TXT, PNG, JPG.
Step 5: Review your selection
All selected CV files are listed in the popup. If you accidentally selected the wrong file or changed your mind, you can remove files from the list before continuing.
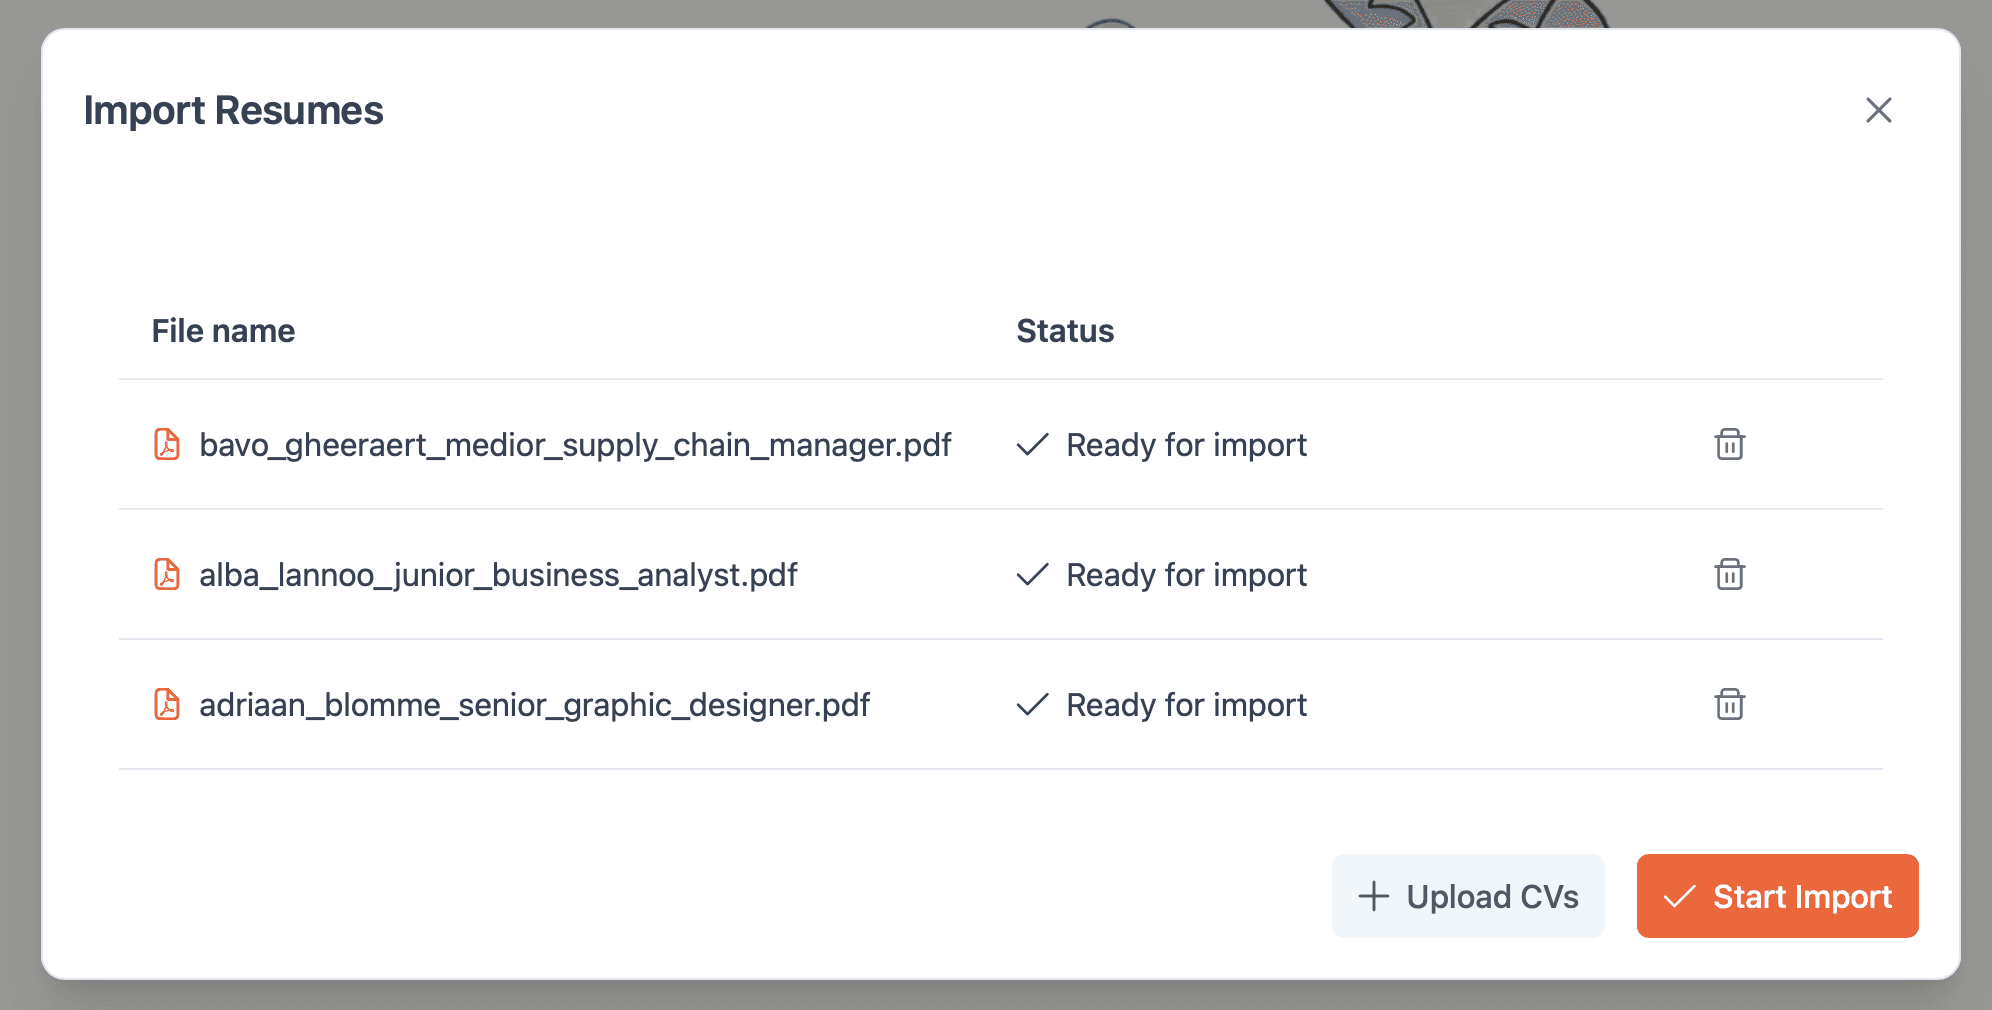
Step 6: Start the import
Once you're ready, click Start import.
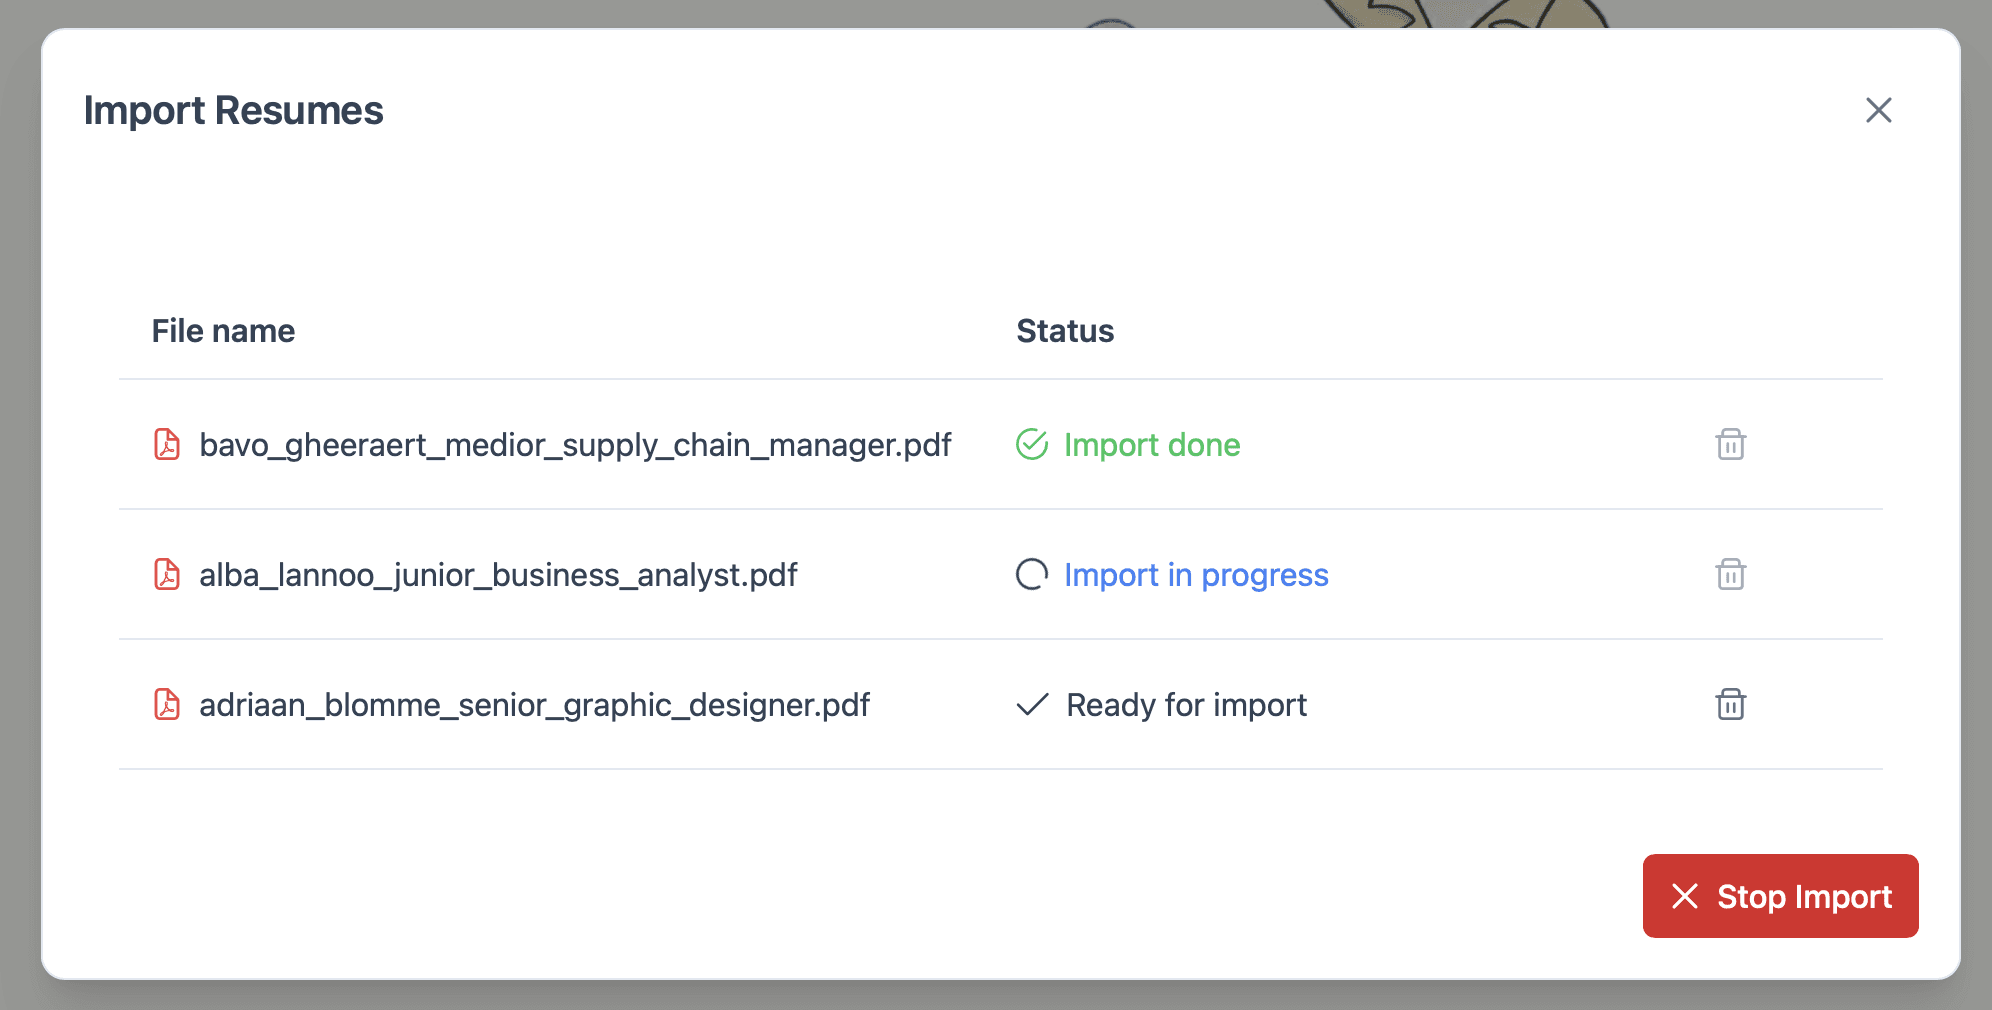
Step 7: Monitor the import progress
During the import, you can see the status of each file:
Ready for import – The file is queued and about to be processed.
Import in progress – The AI is currently extracting information from the CV.
Import done – The candidate has been successfully added to your database.
Step 8: Find your imported candidates
When all files have been processed, the popup closes automatically. Your newly imported candidates are now available in the Database tab.